I Put My Dog in My Coding Agent
Pi made it easy to put a sprite version of my dog in the terminal, then bundle the small coding-agent features I wanted around it.
If I’m going to spend all day staring at a terminal and wrangling agents, I might as well have a sprite version of my dog with me.
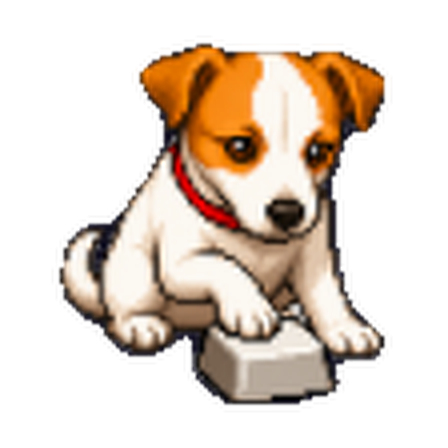
Also, come on. This is cute to see while my agent is in “working” status.
That was basically the entire initial idea behind pi-sprite.
Sprites and pets are cool. I don’t know why they are not more common in coding tools. Claude Code briefly shipped an ASCII /buddy for April Fools, and Codex now has graphical pets in both its app and terminal. Apparently I’m not the only person who wants this.
Pi is super extensible, which is one of the main reasons I like it. I can make it work exactly how I want it to.
I looked at the terminal pets that were already out there. They were impressive, but they felt overengineered and way too feature-rich for what I wanted. pi-sprite started as a slimmed-down derivative of pi-pokepet. I stripped the idea back to my actual requirement: I just wanted to see my dog in the terminal while I code.
So I built that.
pi install npm:pi-sprite
pi
Once the pet was working, I added a few smaller quality-of-life features I wanted Pi to have. Individual extensions existed for some of them, but they didn’t work the way I wanted them to.
The footer status line is probably my favorite detail. It gives me a quick read on what the agent is doing without adding another dashboard.

Scroll the footer or open it full size.
/context opens a readable view of active context usage, which is especially helpful after compaction. /btw lets me ask a side question without adding it to the main conversation. /recap uses a Pi side session to summarize where the current session stands.
None of these is a huge feature. That is kind of the point.
The demo imports WendyBot3000, opens /context, asks a /btw side question, generates /recap, and shows the footer update as the agent works.
The hardest part was getting the image to stay put inside tmux. The first versions used direct image placement, which looked fine until the TUI redrew, I switched panes, or tmux moved the grid. Then the dog would jump around, leave a ghost behind, or duplicate itself. Functionally correct. Pretty bad pet behavior.
This is where dogfooding mattered. I kept using pi-sprite in real sessions, and it kept finding new ways to duplicate the dog across panes.
The fix was the Kitty Unicode placeholder protocol. pi-sprite uploads the image separately, then renders special Unicode cells inside Pi’s normal widget. tmux moves and clears those cells like regular text, while Ghostty or Kitty draws the sprite over them. The pet stays attached to the interface instead of guessing where the interface went.
Making the pet itself is part of the package too. /pet create starts a guided authoring flow that can use GPT image generation. It can work from reference images, offer a few visual directions and layouts, generate the different agent states, and optionally animate the finished sprite.
This is the part I keep coming back to: I no longer have to settle for five tools that are each almost right.
Pi gives me the extension points. Coding agents make the implementation cheap enough that I can care about small preferences. Image generation handles the part where I am very much not a pixel artist.
Software can be exactly the way I want it now, even when what I want is objectively pretty specific.
Now I get to spend all day with a tiny version of my dog in the terminal. It also makes Pi better to use.
It is just fun, but also useful.
pi-sprite is on npm, with the source on GitHub and the full documentation on GitHub Pages.